

Appearance
Quick Start
This page walks through what to expect the first time you sign in to the Console. It does not cover deployment or configuration of the Console itself — those are internal engineering topics.
1. Receiving an invite
You cannot self-register for the Console. Every account is created by an existing admin and arrives as an email invite.
When you receive the invite email, click the link. You will land on the Accept Invite page. See Accepting an Invite for the full step-by-step.
2. Signing in
After your account is set up, future sign-ins go through the standard login flow:
- Open the Console URL.
- Enter your email address.
- If your organisation has multiple sign-in methods configured (password, SSO, identity provider), pick one. If only one is configured, you go straight there.
- Authenticate. You will be redirected back to the Console and dropped at your home page.
The home page depends on who you are:
- Internal operators land on
/dashboard— the platform-wide health overview. - Customer owners and admins land on their customer's portal dashboard at
/customers/:customerId/dashboard. - Customer members without elevated portal access land on their personal account page.
See Signing In for details, including what to do when sign-in fails.
3. Finding your way around
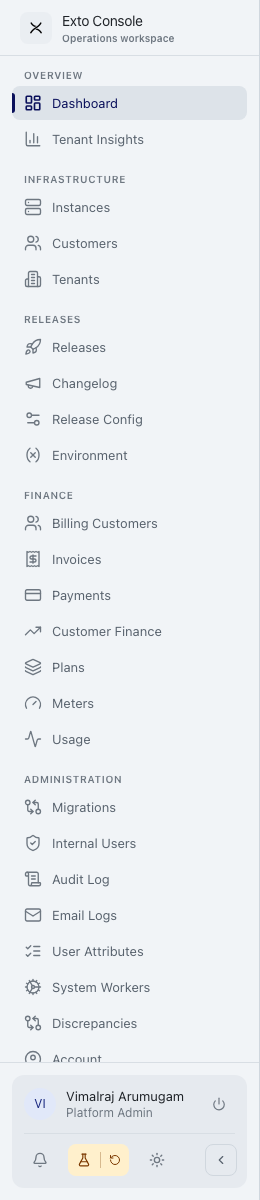
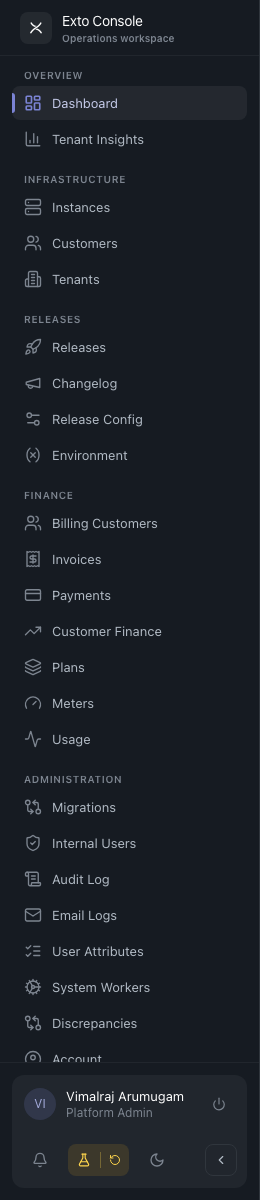
The left-hand sidebar is your map.
In the Admin Console, sections are grouped by domain — Customers, Tenants, Instances, Migrations, Releases, Finance, System, and so on. Each row in the sidebar opens a list page; clicking a row in that list opens a detail page.
In the Customer Portal, the sidebar is shorter and scoped to a single customer: Dashboard, Workspace (Tenants, Instances, Users), Billing, What's New, Settings, and Account.
If you belong to more than one customer, a switcher near the top of the portal lets you change customers without signing out.
4. Doing your first task
Pick whichever applies:
- Onboarding a new customer? Open Customers → New Customer. See Customers.
- Provisioning a tenant? Open Tenants → New Tenant. See Tenants.
- Inviting users to a customer? Open the customer's detail page → Users tab → Invite Users. See Customers.
- Cutting a release? Open Releases → New Release. See Releases.
- Reviewing billing? Open Finance → Customers. See Finance Customers.
5. When things go wrong
- The action button is greyed out → your role probably does not have permission. Check Roles & Permissions.
- A status banner appears on a tenant or instance → see Lifecycle Statuses.
- Something failed and you need to see what happened → check the Audit Log for record-level events, or the Email Logs for delivery issues.
If you are an operator and the failure looks systemic, see the engineering team's internal runbooks. They are not part of this user guide.